PREVIOUS INTRODUCTION
1. General components
1.1. Tables with autofilters
Tables with autofilters allow you to filter information and check that it contains what has been written.

Other autofilter tables are available, allowing you to select the filter to apply from a drop-down menu.

1.2. Selection tables
Selection tables are elements that allow the selection of groups of items.

These always have the same operation, the available elements are on the left and those assigned on the right. You can select or remove all items by pressing the corresponding buttons. To select a single item, click on its corresponding record and use the ‘Copy’ option. You can likewise remove it from the selection, in this case by clicking it in the ‘Added’ table and using the ‘Remove’ option.
1.3. Mandatory fields
These are the fields marked in yellow and which must be completed to be able to continue.
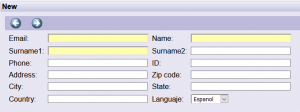
2. Documentation records
From different places of the application it is possible to attach the documentation of the company, workers or vehicles that tdoc requires. They can be found the following options:
| Allows you to upload documents in a requirement. | |
| Allows you to replace the document uploaded in a requirement previously . | |
| It allows to add new documents in a requirement validated as incorrect. | |
| ***Allows you to see the document uploaded in a requirement previously. |
2.1. Add records
The tabs for adding records are analogous throughout the application.
To upload files, follow these steps:
- Click on the button Add New Record of the selected requirement and click ‘Upload file’.

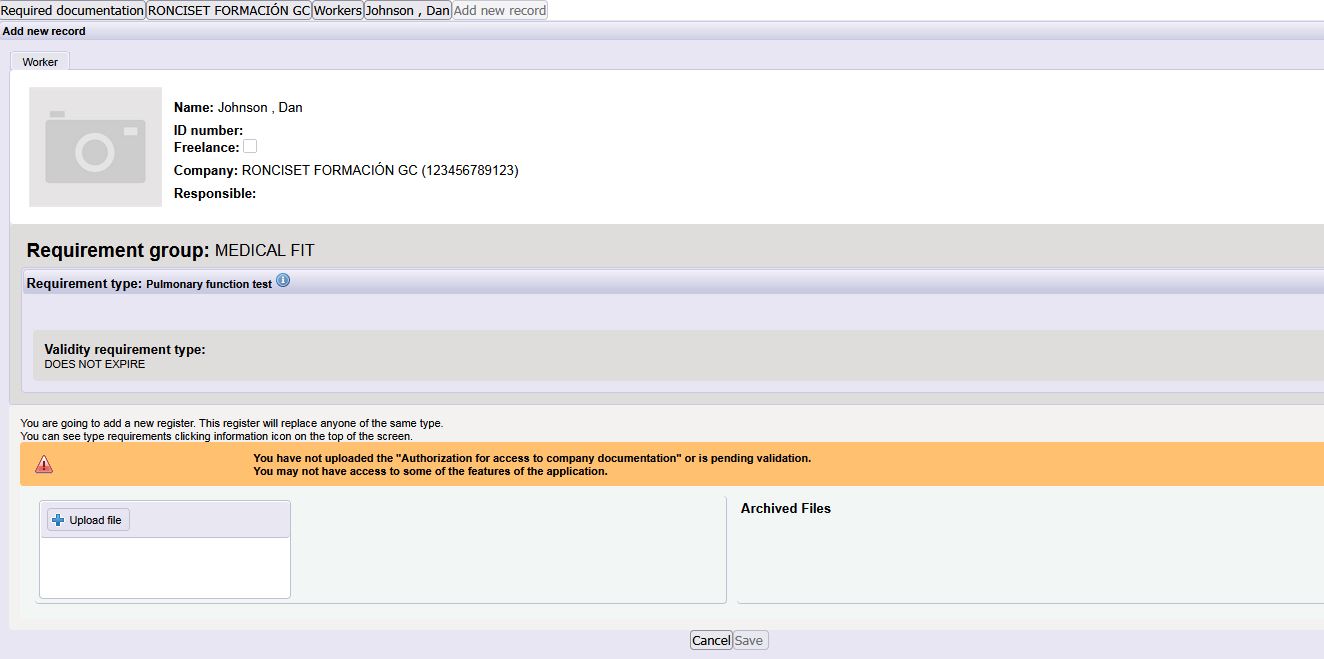
| It allows to see the document criteria, which are established by the client to determine if requirement is correct or incorrect. | |
| Allows you to see the template, if the delivery has it.
May be appear in multiple languages. |
|
| Allows you to search in the computer the file to upload. |
2. In the window that appears you must select the file you want to upload from your computer and press Open.

3. The file will start uploading to the application. The progress bar tells you that the file is uploading.
The upload time of the file varies according to the size of the file and the speed of the Internet connection.
4. When the file is completely uploaded, the progress bar disappears and the file name appears in the right part of the window.
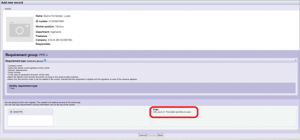
5. The file will not be permanently saved until you complete the process you are doing.
In the case of company documentation, you will have to press the Accept button to complete the process.
In the case of worker documentation for some type of requirement, it is possible to add the same record to different workers (for example if training is being updated) or for the same record to apply to different types of requirement (for example if we are updating requirement of PPE).
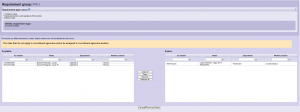

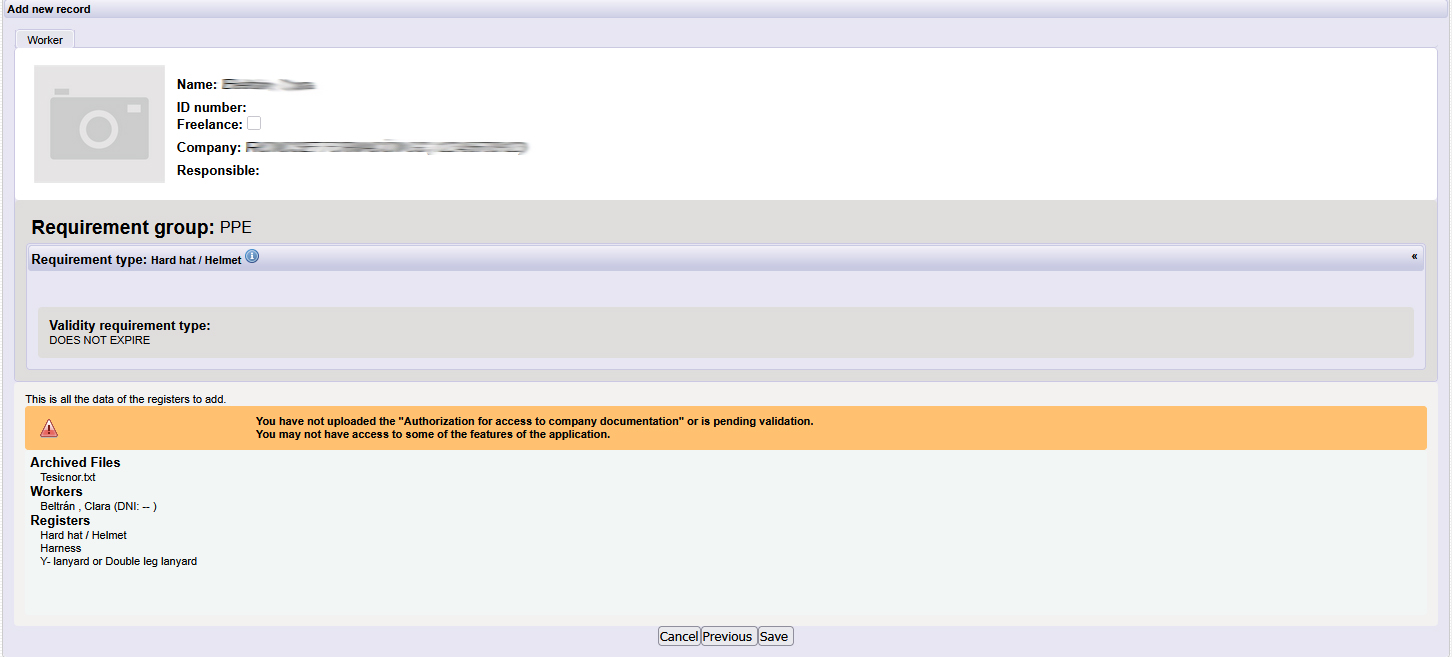
6. After clicking Next, we will obtain the summary of the record that we are updating and we must click the Save button to complete the process.
2.2. Replace record
Once a document has been uploaded, it is possible to replace the old document with a new one. To do this, click on “Replace Record”, and follow the same steps as those described in the previous point.

| It allows to see the document criteria, which are established by the client to determine if requirement is correct or incorrect. | |
| Allows you to see the template, if the delivery has it.
May be appear in multiple languages. |
|
| Allows you to search in the computer the file to upload. |
2.3. Recover documents
It allows to recover a document previously uploaded in that requirement.
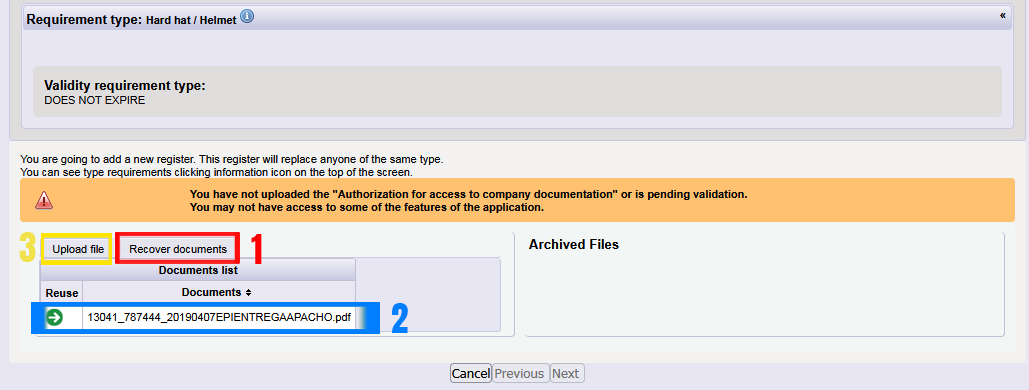
To do this, click on “Recover documents” (1) and select the document you want to recover (2).
If you agree to “Upload file” (3) again, you can include more documents.
2.4. Modify record
It will be possible to “Update Record” anytime a document has been uploaded and the record appears in red meaining the requirement is incorrect. In other words, it is when you add more documents to the chosen record to solve the error.
When the record appears in red because it is expired, it will not be possible to modify the registry.

3. Types of requirements
3.1. Normal requirements
Normal requirements are the majority of requirements that are requested on tdoc. For these requirements the application only shows the last requirement uploaded in tdoc.
3.2. * Accumulated requirements
Accumulated requirements are those that can be accumulated, that is, you can have several valid and they are all visible in the application.
The most common is the risk assessment, since usually contractors have a risk assessment per job position (for example, maintenance, commercial and cleaning). However, the accumulated requirements are defined according to the customer’s needs.

All these requirements are stored in the REPOSITORY, where you can add new records, replace record and the see record like you do in any other normal requirement.
Only these requirements include the option to delete register, which means that the selected requirement becomes inactive.
Once a requirement is inactive, it can be reactivated with the Activate option

3.3. * Associated requirements
Associated requirements are those that are associated with a task. It means that must be defined in each of the tasks provided by the contractor which of the accumulated applies, even if it applies the same. (For this task of preventive maintenance and minor corrective in a wind turbine, the maintenance one will apply while the commercial will not)
4. Color code-documetation status
These are the color codes applied to the documentation status:
The type of requirement does not apply and it is not necessary to add a record. 
The record has been added and it is correct. 
The record has been added, but it is pending of validation.
No record has been added yet (Missing). 
The registration is incorrect, has expired or does not meet with the established conditions. 
(*) The record does not affect the documentary status of the task. 
Always within each table you will be able to see certain content: in some cases text (for example, for incorrect documentation, a brief explanation indicating the deficiencies found that do not meet the established review requirements), in other cases dates (from expiration, expiration of the document, …), etc.
5. Trainings/ appointments
The trainings and appointments correspond to the risks that a task may have. They must be viewed from two different perspectives:
- Client. Who defines, when creating the task, the risks involved in that task.
- Contractor. Who defines in each of the workers, for what risks the worker is trained and for which he has been designated.
In a task, the defined training must be associated with at least one of the workers included in that task.
A worker has or does not have training (for example, Work at height), which is why it is associated with the required documentation.
A worker may be designated on one task (for example, as a preventive resource), but not on another. For this reason it is associated from each of the tasks.
6. Limited functionalities
Throughout this manual, several functions are listed that may be limited for different reasons:
* Per client / core
*** Not allowed until the RGPD is complete.
